How Do I Change The Invoice Layout In QuickBooks Online
QuickBooks has a gallery of invoice templates available to choose from. Each has its specific pros and cons, and depending on what your business uses you might be able to find one that works.
Do you find your invoice template is too generic? If you have set up a brand new QuickBooks account and haven’t done anything to customize your invoices, they will probably look pretty standard. You can customize some settings to give your business a more professional look.
When creating a new invoice in QuickBooks Online, make sure to take advantage of the “Customize” option in the bottom middle row of options:

If you choose “New Style”, that will take you to the default popover for customizing your invoices.
What can you all include on a QuickBooks Invoice Template Layout?
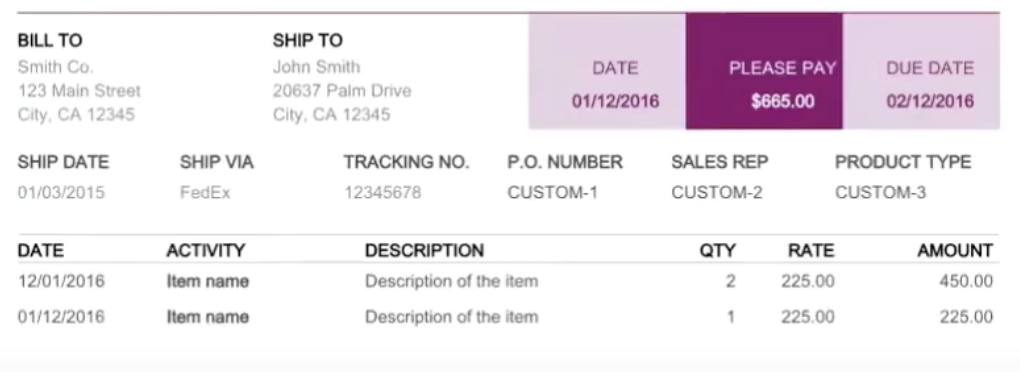
QuickBooks Invoice templates include a number of things. These are standard items that should be included in an invoice, so make sure that you don’t accidentally delete any. These include:
- Header as invoice
- Company Logo
- Invoice Number
- Seller information (Business name, address, tax number, and contact)
- Buyer Information (Same as Seller)
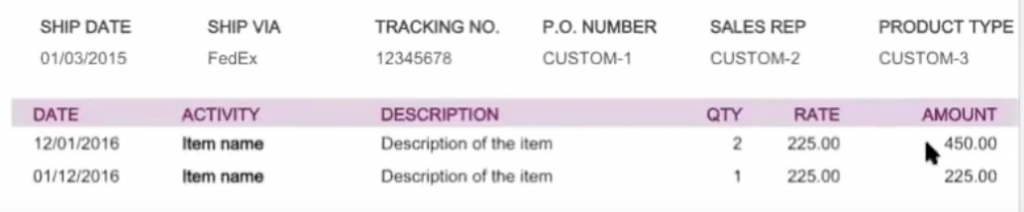
- Info about items or services purchased (Quantity, Cost Per Unit, Total Price, PO Number, etc)
- Payment Terms
- Payment Method
How to change invoice layout in quickbooks:
1. Go to the gear icon in the top right
2. Click on “Account and Settings”
3. This page will list a number of things that will appear on your invoice. Make sure you logo is up to date, as well as your company address and contact information.
4. Click on “Sales” on the left sidebar
5. Click the green “Customize look and feel” button on the top right of the page.
6. In the popover that appears, utilize the options under the Design tab. This will give you the most power over changing the layout in your invoice.
While QuickBooks doesn’t give you complete control over the layout of your invoice, it does give you a few templates to choose from that will change the layout of your invoice. You can choose from:
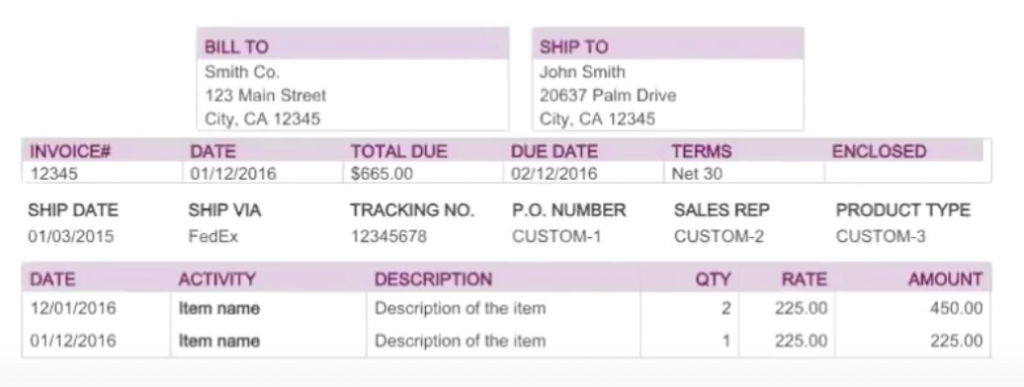
Airy Classic:
Modern:
Fresh:
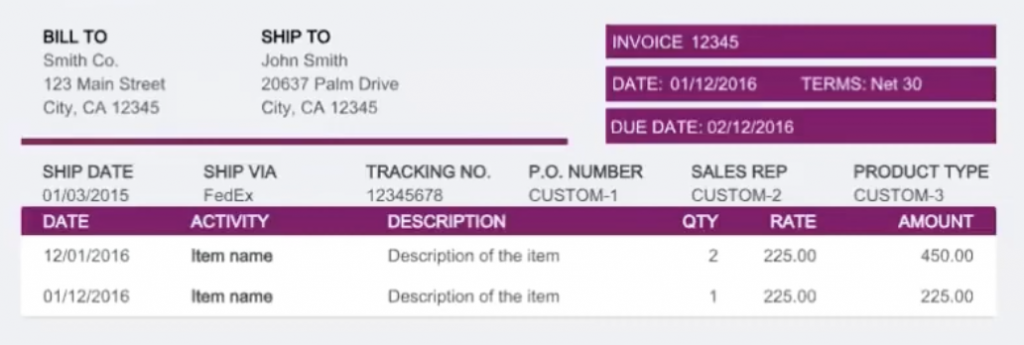
Bold:
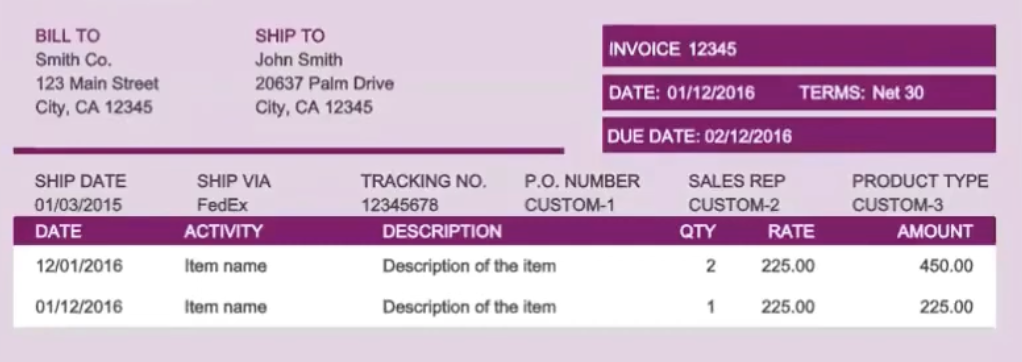
Friendly:
Changing the layout with one of these premade templates is the easiest ways to change the invoice layout in QuickBooks. Once you’ve chosen a layout, you can further customize it with a few more options. Let’s take a look at what else you can change.
Customize Logo on a QuickBooks Invoice
You have a few settings for customizing the logo on your invoice. First you can choose between three sizes for the logo: Small medium or large. In addition, you can move it to the right center or left. This will move the business details depending on which you select. You can hide the logo altogether if you’d rather not display it as well.
Change the color theme for an Invoice Template
You can change the overall color scheme of your invoice layout to make it even more custom branded.
In the same Customize popover that we’ve been working in, you will find under the Design tab some options to “Try Other Colors”. Clicking this will bring up other colors to try:
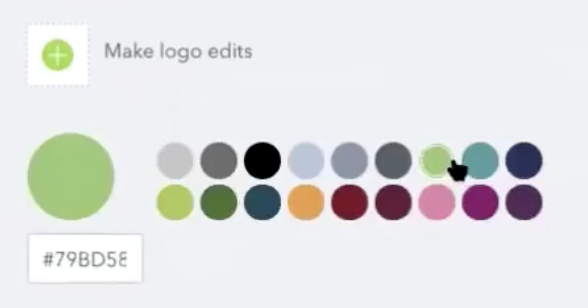
Choosing a new color here will change the colors throughout the invoice. Unfortunately you can’t pick and choose where to use a specific color, so it’s fairly limited in colors here.
Change the font for an Invoice Template
You can also change the invoice font right below the color scheme options. There are only a few fonts available here, as well as font size options.

Can you change the margins on a QuickBooks Invoice?
The final option on the Design tab is a bit confusing. At the bottom of this section, you’ll see “When in doubt, print it out.” What does this mean?

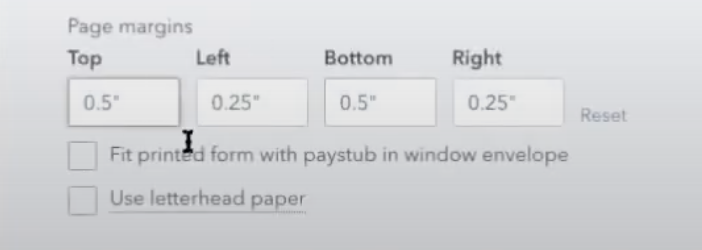
This is where QuickBooks hides the options to change the page margins. If you click this section, you’ll suddenly see settings to change the page margins. Make sure to set these large enough that the invoice will print on a standard printer. And, as QuickBooks says, if you aren’t sure if it will fit and look good…print it out!
Check the “Fit printed form with paystub in window envelope” option to change the orientation of the invoice so that it will fit the address in an envelope window.
Can you include a custom message on an invoice?
Yes you can include a custom message for an invoice in QuickBooks. To set up a default message for invoices:
1. Click the gear in the top right and then “Custom Form Styles”.
2. Click New Style, then Invoices
3. Select the Content tab
4. Click the Pencil icon in the footer section (top right of the section)
5. Edit your message
6. Click Done
If you need a more flexible invoice template in QuickBooks, try RECUR360
While QuickBooks features a ton of useful functionality, sometimes users expect more. That’s where RECUR360 can help you do more. RECUR360 syncs with your QuickBooks account and lets you automate things so you can spend less time in QuickBooks.
Create recurring invoices, payments, late fees, and more. Send out past due invoice emails, customize invoices the way you want to, and start automating your business.
And best of all, you can try it FREE! Give it a try!